 1
Protected Cores
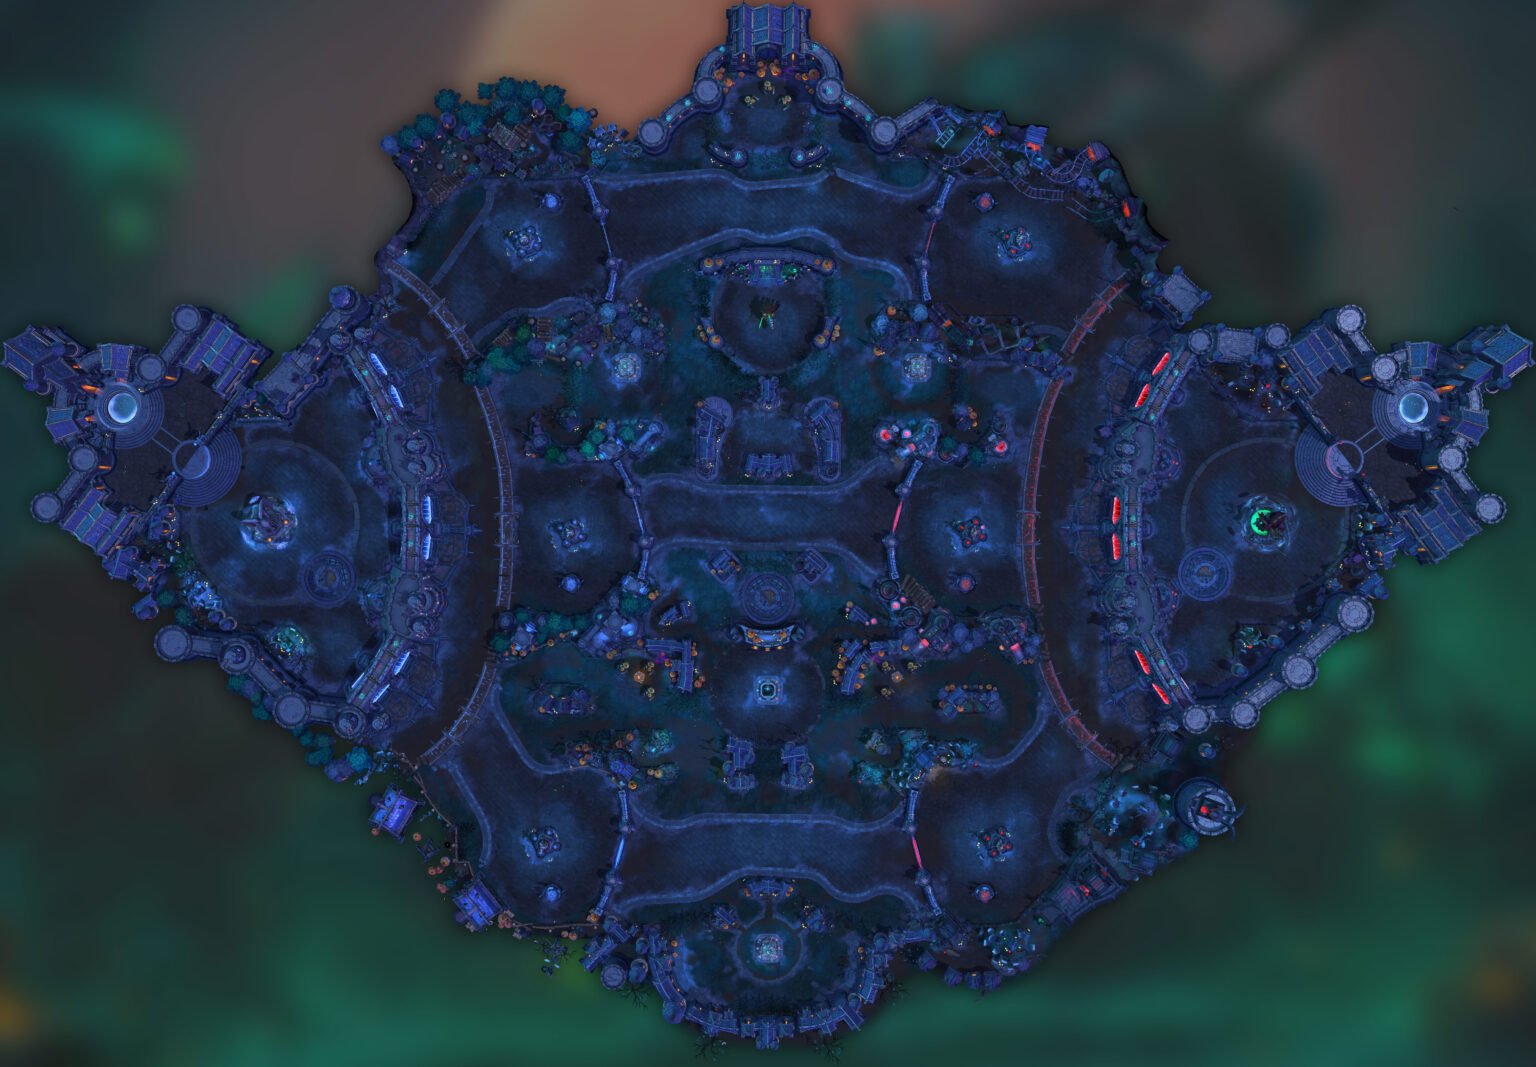
Both Cores are protected by a barrier that Heroes cannot attack. To emerge victorious, you must activate the Altars.
Both Cores are protected by a barrier that Heroes cannot attack. To emerge victorious, you must activate the Altars.
1Both Cores are protected by a barrier that Heroes cannot attack. To emerge victorious, you must activate the Altars.
 2
Altars rise periodically across the battlefield. Activate them so your Bell Towers fire on the enemy Core.
 3
Destroy the enemy's Towers so your team can control them. The more Towers you have, the more damage the Altar deals.


Heroes that shine on this map, and why.

Global presence enables several strategies

Movement speed for allies speeds up team rotations

The map layout favors positioning for Shade of Mephisto (E)

Fast rotations enable varied strategies during the objective

Can control the point and interrupt objective channels

Global presence enables several strategies

Global presence enables several strategies

Good wave clear, excellent at interrupting objective channels

Good wave clear, fast rotation and good duelist

Good at interrupting objective channels

Strategic spots for using Hook (Q)

Great at punishing opponents during rotations